I love images! From the way they transform a text into a worthwhile experience, to the way they enhance your blog post, there isn’t anything to hate about images.
Images help set the tone and brand of your entire site and also make your blog posts more sharable. We naturally respond to images hence the need to market our blogs through integrating imagery into our content.
Over the years, I have discovered that one of the reasons why the average size of images is on the increase is because multiple images that aren’t saved, well-sized and optimized are frequently used now on web pages, thereby bloating your pages and reducing your page load speed.
One mistake we often make as bloggers is focusing on crafting our blog posts and networking with other bloggers, thereby not optimizing images. Now, while you may not have issues with your poor page load speed, we can’t say the same for your visitors, especially those without high-speed connections. You should also know that having a poor loading sped can greatly affect your SEO negatively.
Why do you need to optimize images?
Imagine what it would feel like to create stellar content and spend hours promoting it on your blog only to have your visitors not read your content owing to your poor load time. Sounds heartbreaking right? As a person, I find it very difficult waiting for a page to load beyond 10seconds. I just use the ‘Back’ button and exit the page then go in search of a faster loading page with similar content. This is the same with your visitors. No one has the patience to wait for your page to sluggishly load and open for them to view the content, especially when they know there are countless related content with better loading times.
Now, try imagining what a visitor with a slow mobile connection will have to go through just to view your content. Do you really think they will have that patience? I guess not! This is why you need to size down your page, focusing on the images which are known to take up your space and that of the hosting account. You may currently be wondering why you should reduce your storage space when it is unlimited. You need to understand that it takes storing unnecessary images and content in your space to quickly fill it up.
What are the basics of Image optimization?
There are certain things you ought to know when it comes to optimizing images on your blog. From file type to image compression, image size, and dimensions, there are areas you need to properly understand for image optimization, some of which are;
File type
If you takeout time to investigate, you will discover that images saved on the web are usually in either PNG or JPEG file format, or GIFs. Ohh! I can spend hours laughing at the hilarious GIFs I come across while browsing or even chatting.
Now, while you may want to save your images in either of the formats mentioned, I advise that you use JPEG for photographs and for featuring human and nonliving designs. You can use PNG for graphics, screenshots, and for images with transparent backgrounds, while GIFs are to be used only if you are in need of animations.
You may be wondering the reason for the different formats! JPEG is used mainly for saving photos, but the problem with using JPEG is that it compresses an image into a smaller file size which in turn affects the quality of the images. On the other hand, PNG is mostly used for saving text/graphics as it doesn’t lose the original image quality but ends up with a very large file size.
Image dimensions
I would like to reiterate my displeasure for pages that take forever to load. If you have ever had to wait for a slow page to download its images particularly small ones, you will understand how frustrating that can be. Now imagine what it would feel like waiting for big header images to load. You just may have to go make that noodles or grill that chicken before it gets ready! The very thought gives me a migraine.
As a blogger, if you ever experience this, then it means that you didn’t properly optimize and resize your images. To correct this, you can either resize your images in advance using an image editor like Pixlr, Photoshop, or Lightroom, or use web publishing platforms to create multiple variations of your full resolution image in different sizes.
If you frequent WordPress, you will notice that it automatically creates about three or more copies of the images you upload that can be used in your blog posts, using different dimensions. If you want to save space in your hosting account but still be able to upload massive stock photo images, I recommend using Imsanity which happens to be a WordPress plugin and can help you to resize and possibly replace the original image you intend using on your post into something better.
Image compression
Over time, I have come to realize that one of the best ways to optimize and reduce the size of your images is through image compression. If you are already used to compressing images, you will be aware that image editing tools like Photoshop and Canva save your files using lossy JPEG compression to help you reduce huge images to web-friendly sizes, mostly as they have one of the best file size reduction methods.
Are you aware of the fact that there are tools capable of compressing your optimized images taken from Photoshop and other editing tools? These tools also have the capability to make these compressed images look exactly the same as the original one. I have listed some free and paid tools you can use to compress your images and make them web-friendly. These tools come as either Desktop or Online/Cloud tools and include;
Desktop tools
ImageOptim/ImageAlpha
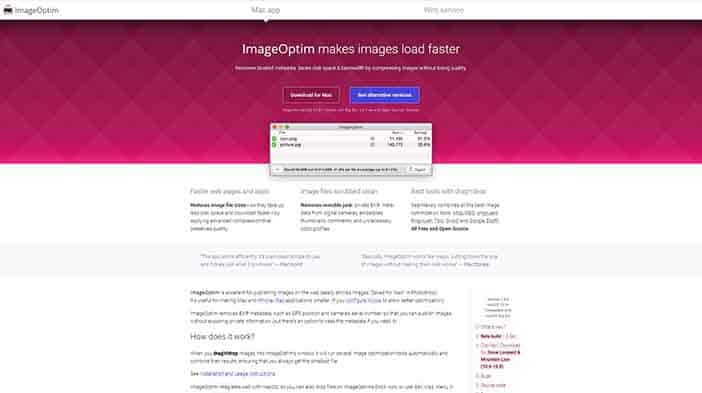
This is an easy to use free desktop tool specifically for Mac users that I have come to trust, due to its ability to optimize PNG images before I get to upload them. ImageOptim allows you to drag and drop your files, although you are limited to an image at a time.
Outside this, you can use ImageAlpha alongside ImageOptim to shrink PNG files and strip unnecessary metadata from JPEG, PNG, and GIF files.
JPEGmini
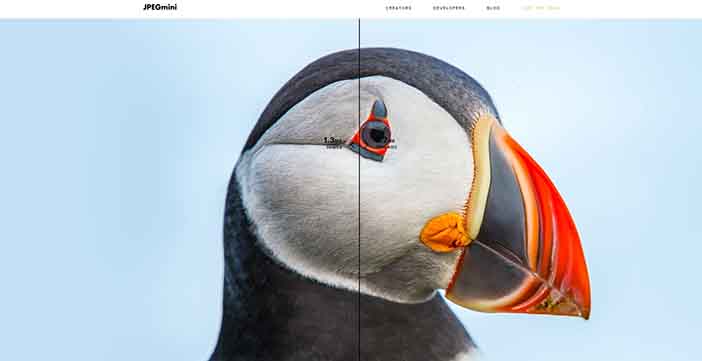
You can use the desktop JPEGmini application on Windows and Mac to optimize your JPEG files. JPEGmini has a Lite version that costs about $19.99 to remove its limit and allows you to optimize up to 20 images a day for free. It also has a Pro version for advanced users and costs $99.99. The Pro version allows its users to incorporate JPEGmini into Photoshop or Lightroom, mostly as a plugin.
Online/Cloud tools
EWWW Image Optimizer
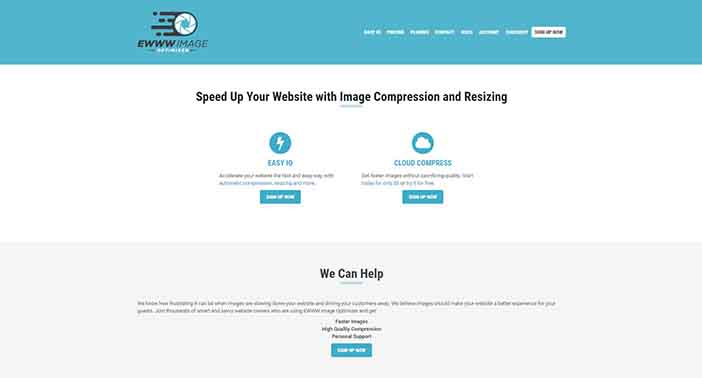
You can consider using this plugin if you’re on a budget and don’t want to manually optimize your images. EWWW Image Optimizer is free and efficient for helping you optimize your uploaded images, although it only performs lossless compression. If you are looking to perform lossy compression, you will have to opt for its premium subscription.
TinyPNG

TinyPNG is an online image compression tool of high-quality that lets you drag up to twenty smaller images into your browser for instant optimization. You can also use TinyPNG to optimize JPEG files. Using TinyPNG, you get access to 500 free image optimizations per month, after which you will pay between $0.002–0.009 per image.
Wrapping it up
You have to start optimizing your images.
It will be disastrous for you and your site if your page load time is very slow. Not only will you not get reasonable clicks, but your ranking on Google will also be affected. Ensure you monitor your image dimensions and resize large images to an appropriate size.
I recommend using desktop apps like JPEGmini to compress images and integrate them, using a plugin into WordPress.
Finally, if you aren’t certain of your site’s loading time, you can test your site’s speed using Google PageSpeed Insights.